CodeShip is a free service (for Open Source projects) that will link to your GitHub project and build, test, and deploy automatically when you commit. This is similar in function to Jenkins, with the advantage of not having to manage a server and instance. Here is how to get started.
- Go to https://codeship.com and choose “Log in with GitHub” to link your account.
- Choose to Create a new Project
- Connect with GitHub
- Find and choose your repository
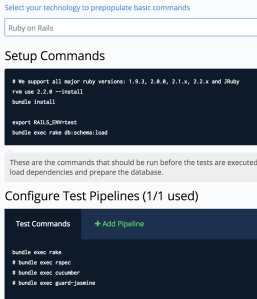
- Configure Project, choose the type of project you are building. I chose Ruby on Rails. Notice the Setup and Test commands are populated based on your choice. You can also change these later.
- CodeShip now tells you to push to your repository to trigger your first build, so change something, commit, and push to see the build start for the first time.
- You should see one of these two
- If it failed try changing your test settings or code until it passes. For example if your Gemfile is not in the root directory try adding a “cd nextdir/subdir” command to the Test Settings.
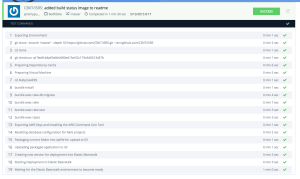
- Keep working at it until you see something like this
- Now that you have build and test working, follow the next blog post to create a cloud CI server to automatically deploy to with CodeShip. CodeShip Part 2


