Here is what I had to do to set up an Amazon Web Services Elastic Beanstalk instance for use as a Continuous Integration/Delivery deployment box with CodeShip. Continued from CodeShip Part 1

IAM — Create User
- Log Into AWS and go to IAM
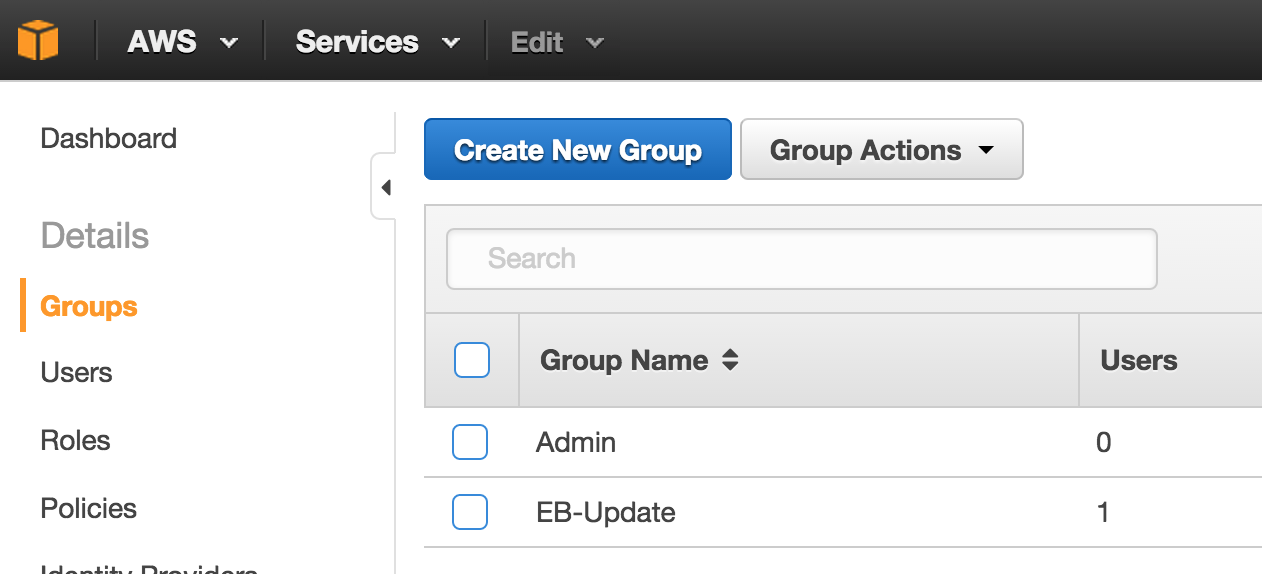
- Go to Groups, Create New Group
- Enter a group name. Since this group was going to have the permissions needed to write to ElasticBeanstalk by CodeShip I called mine “EB-Update”
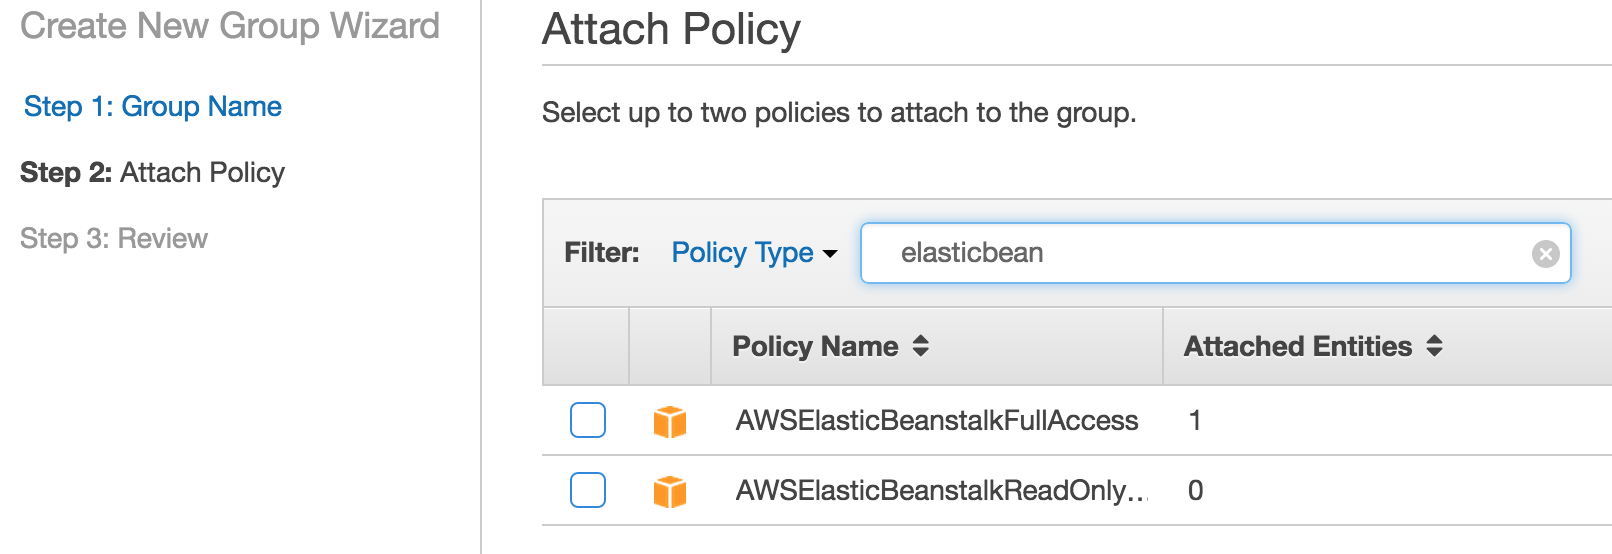
- Attach a Policy. If you type elasticbean in the search you’ll find two that match, choose the one that is not read-only.
- Click “Create Group” and you should now have a group with rights that CodeShip needs
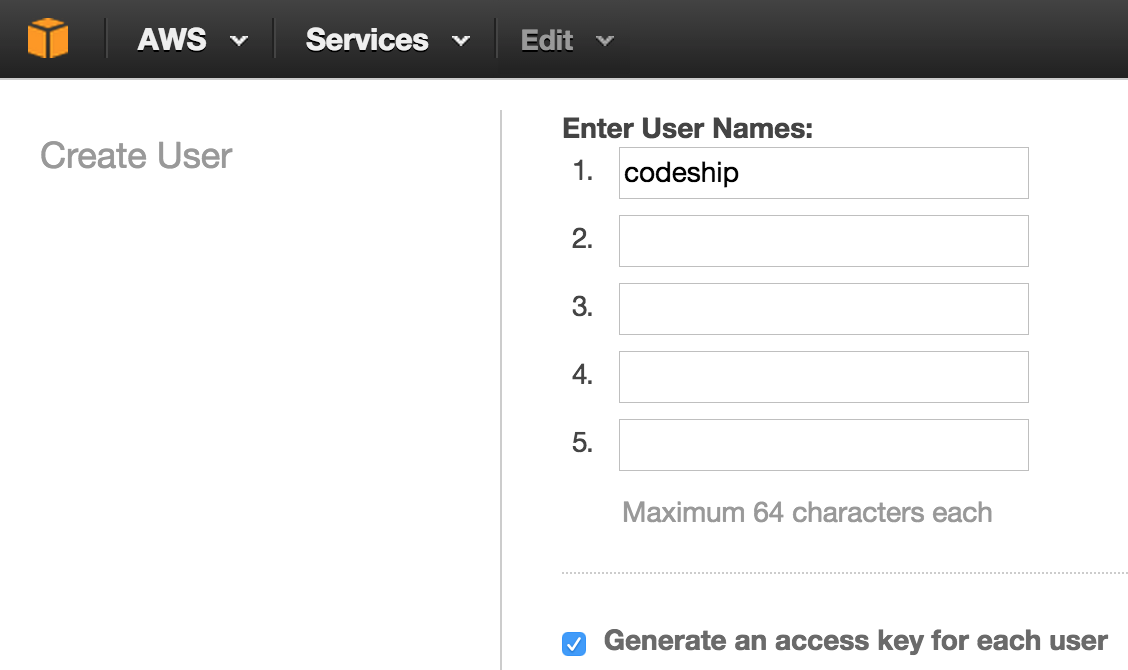
- Next go to Users, Create New User
- I named mine “codeship”, make sure “Generate access key” is checked
- Be sure to download those credentials, you’ll need those later
- Go back to Users, check beside your user “codeship” and under “User Actions”, choose “Add User to Group”. Choose the EB-Update group created previously.
- You now have a User that is a member of a Group, that has the appropriate Policy to do updates to your yet to be created Elastic Beanstalk instance.

EC2 — create Key Pair
- Go to EC2, Key Pairs, Create Key Pair
- Choose a name, I named mine aws_isrs
- It creates and then downloads a .pem file which you should copy to your .ssh directory if you want to be able to ssh into the server you create later.

Elastic Beanstalk — Create dynamic EC2 instance
- Rather than creating a traditional EC2 instance we’re going to use Elastic Beanstalk to do it for us.
- Go to Elastic Beanstalk, “Create New Application”
- Name your application. This should reflect the service you’ll be pushing to this, so I named mine the same as my GitHub project.
- For my Ruby Rails project I choose to create a Web Server Environment.
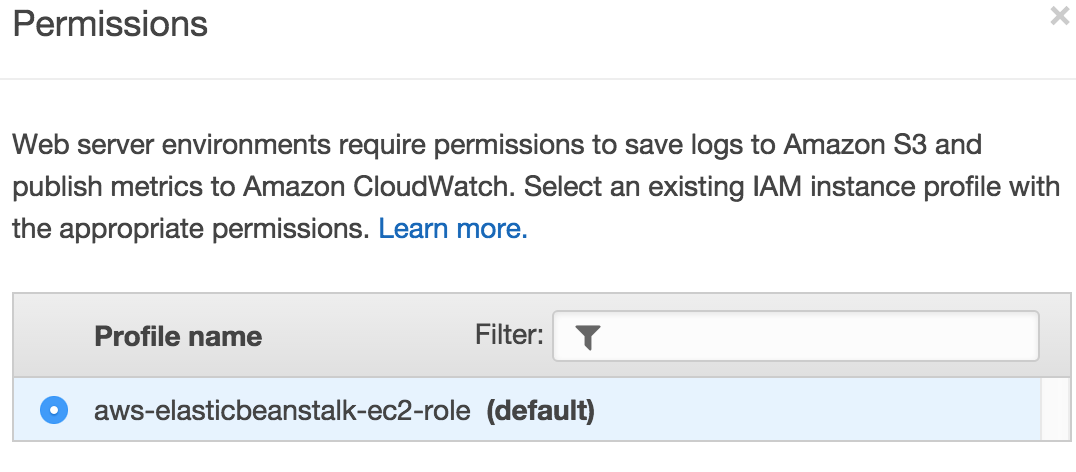
- Choose a Permission Profile. I chose the default with plan to update it later.
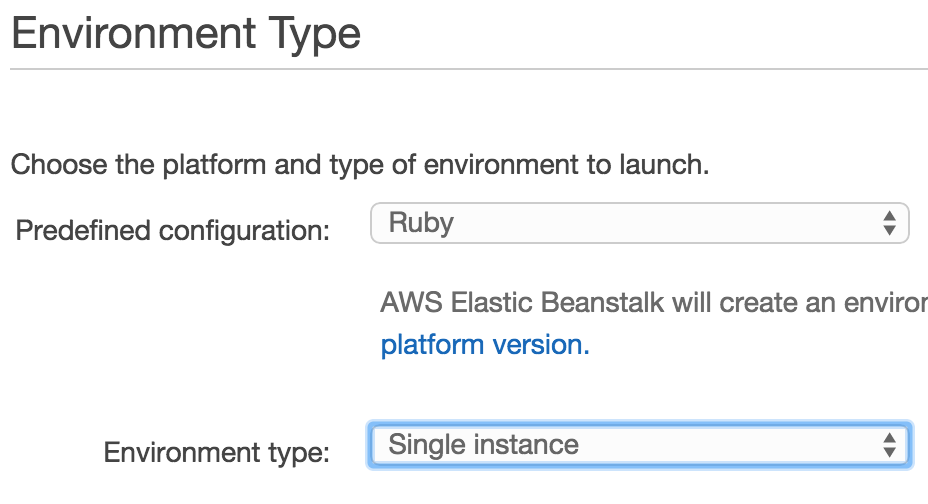
- Choose an Environment Type. I chose Ruby, and since it was just a CI/CD layer I chose a Single Instance over a Load Balancing/Auto Scaling one.
- Application Version, to load the environment the first time it wants a zip of your project.
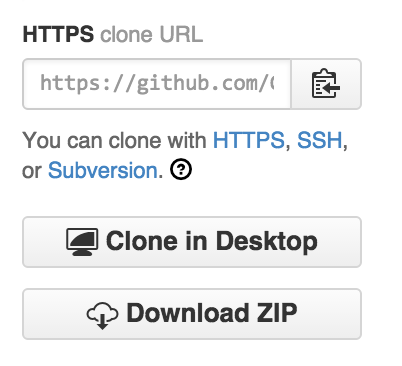
- Jump over to GitHub for your project and choose “Download Zip” in the bottom right.
- Then back in AWS choose “Upload your own” and select the zip file you just downloaded
- Jump over to GitHub for your project and choose “Download Zip” in the bottom right.
- For Environment Info choose a name for the purpose and tier, for example I choose “isrs-ci” for mine.
- I didn’t choose any Additional Resources
- Configuration Details, enter your contact email, and choose the Key Pair you created above.
- Enter environment tags if you find them helpful. I added Tier=Integration & Use=ISRS_caAERS for my project
- Review and click Launch. Wait for it to finish loading.


CodeShip — Set Up CD
- Go to your project in CodeShip and select “Set up Continuous Deployment”
- Add a Deployment to your Pipeline and choose “Amazon Elastic Beanstalk”
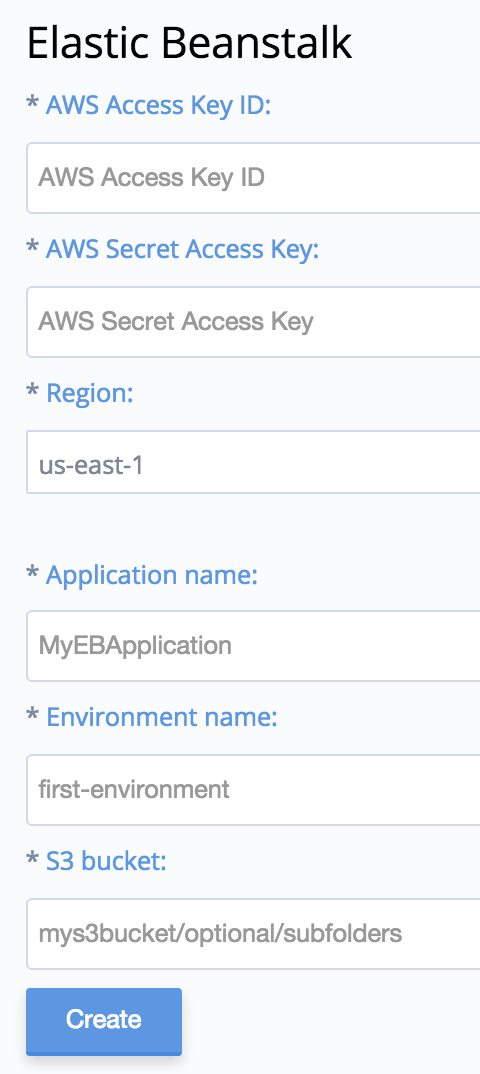
- Enter in the information gathered during the previous steps
- AWS Access Key ID: From the excel file downloaded after creating the “codeship” user.
- AWS Secret Access Key: From same file
- Region: From AWS, EC2, instances, Availability Zone
- Application name: From AWS, Elastic Beanstalk Application name, mine was ISRS
- Environment name: From AWS, Elastic Beanstalk Environment name, mine was isrs-ci
- S3 Bucket: From AWS, S3,

- Either wait for you next push or click reload. At this point when something is pushed to GitHub you should have an automatic build, test, and deploy to this CI environment!